5 Simple Tips that will Improve Your iPhone Photography
There is no doubt that today’s iPhones take great photos. In bright light, and when they aren’t enlarged too much, it can be hard to tell the difference between an iPhone shot and one from my SLR. Now before you ask, no – they still aren’t as good as those from an SLR in most situations, and they never will be. Every time an iPhone sensor or lens gets better, the one in the SLR does as well. When it comes to camera quality, size matters, and that’s one area where an iPhone camera is not catching an SLR. However, there is more to a camera then outright optical quality. Portability and handling matter as well. I for one don’t feel like lugging a massive SLR around everywhere I go, and in most cases, will reach for my iPhone when heading out the door, even though I know it will give inferior results.

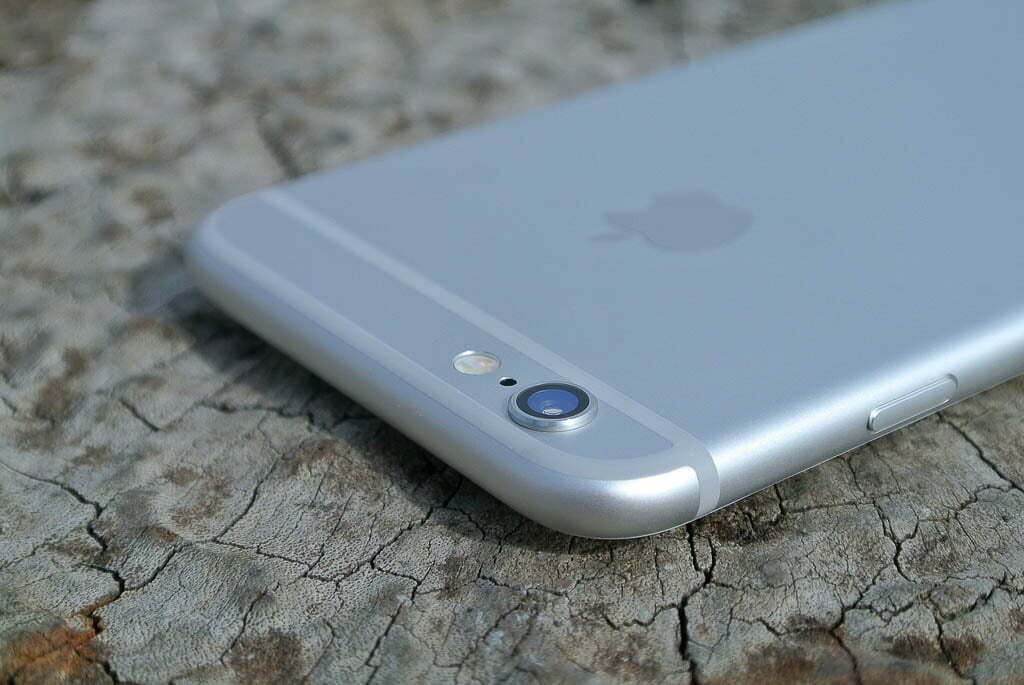
There are some places it’s just not practical to take an SLR. With shots like this from an iPhone 6s though, you don’t sacrifice much in the way of quality.
There are a few things I always do (or don’t do) with my iPhone to get the best picture quality. They are, in-fact, the same things I do with my SLR. Here are 5 things to keep in mind that will make a massive difference to the quality of your shots.
#1 Clean the lens
If there is only one tip you take away from this article, this is it. A dirty lens will ruin your shots in all situations, and particularly when there is backlighting. A dirty lens makes your pictures look blurry and foggy. It also hinders the autofocus system in the camera, which relies on contrast to lock on to the subject. If you have ever wondered why some days your phone will lock on to faces and others it won’t, a dirty lens is probably to blame.

With a clean lens, your iPhone can even take shots straight into the sun
Your phone spends all day shoved in your pocket or handbag. The kids have their fingers all over it. It gets taken everywhere, and used in every situation, and there is no lens cap on your iPhone. That tiny 3mm lens gets dirty very easily. In fact, it doesn’t take much to obscure it completely with a dirty finger mark or greasy bit of grime. It doesn’t take long to clean the lens, and you don’t need a special cloth. All I do it rub it on the cleanest part of my clothing. Usually that is the front of my shoulder. T-shirts in particularly can get a bit sweaty, and body oil will be just as likely to make it dirty as clean. You’ll need to take care not to rub it across zips or buckles. If you prefer to use a cleaning cloth to get it clean, the one for your sunglasses or reading glasses is a perfect choice. Just polish the lens a few times with a vigorous rub, and then check it visually to make sure it came clean. As an aside, you don’t need to pay a lot of money for cloths to clean your camera lens or glasses. Professionally, I use microfibre tea-towels that I buy for $4 at Spotlight.
#2 Don’t use zoom
There are 2 types of zoom – optical and digital. Optical is good. Digital is bad. An optical zoom uses the lens to magnify the image before it reaches the camera sensor. It works in a similar way to binoculars or a telescope. If the optics are of a decent quality, there will be no loss of image quality when you zoom. As of the iPhone 6s, no iPhone has an optical zoom function. What it does have is digital zoom, and it will ruin your photos. Digital zoom is achieved by magnifying the pixels after they are captured by the sensor. That means the more you zoom, the bigger the pixels. If the camera let you zoom indefinitely, sooner or later your whole picture would just be one massively enlarged pixel, at which point there would be no visual information left. Your iPhone compensates for this using software to make the image look less blocky. This does improve the image, but ultimately makes your image look blurry. It also introduces what are called “processing artefacts”. These are unnatural looking edges and shapes within the picture that can make it look less real.
Someone once told me the best zoom lens is a pair of legs. Walk closer to the subject, and it will get bigger.
#3 Put the strong source of light behind you
All photos need a light source, otherwise they will be dark. That sounds obvious, right? Maybe so, but many people take photos where the bright source of light (often a window) is behind their subject. When you take a photo this way, your subject will be dark. Your camera may try and fill things in using clever software, but because it has very little light to work with, the result will be muddy and grainy.
The solution is simple. Re-organise the shot so the source of light is behind and to the side of you, ideally at 45 degrees. This might mean asking people to turn around or move, but it will be well worth it.
When light is shining on an angle to your subject, it creates highlights and shadows that bring out form and detail. One side will be brighter, the other side will be darker, and there will be texture and shape across surfaces.
#4 Turn off the flash
Using a camera mounted flash firing directly at the subject is considered an act of last resort in the photography profession. When used as the key light, the flash will illuminate every nook and cranny making your shot look flat and featureless. You’ll also get red-eye issues as the light bounces straight off the back of your eye and into the camera lens. With a flash mounted on an SLR you have the option to angle the head and bounce it off something, usually a wall or the ceiling. This effectively creates a larger sized light source, which in turn creates softer shadows and more flattering light. The pin-prick size LED flash mounted only millimetres away from the lens on your iPhone is about as bad a lighting setup as you could create. As well as producing sharp flat light, the limited power means you need to be close for it to be effective, which for a face means noses will be brighter than the face which is further away. The best option for your iPhone is to find the largest sized natural light source you can, and as mentioned in tip #3, arrange the subject so that it is illuminated by that.
#5 Use touch focus
The latest iPhones have fantastic autofocus. The face detection autofocus is particularly good, better in fact than anything on an SLR when used through the lens. If your phone has steadily locked onto someone’s face, then this tip is of lesser importance. However, for anything without a face, your phone may not lock on to the object you want it to. In this case, you need to touch the object of interest on your screen, particularly if the camera software has not placed a square around it. There is a further benefit to doing this. Your iPhone will use the focus point to set the exposure for the shot. If it is selecting the wrong key object, chances are the shot will be too bright or too dark. You can also touch and hold an object to lock the camera’s exposure and focus point. This is a great technique if you want to re-compose the shot after focusing, or if the camera is struggling to lock on by itself.

Your iPhone will struggle to find a focus point automatically in shots like this