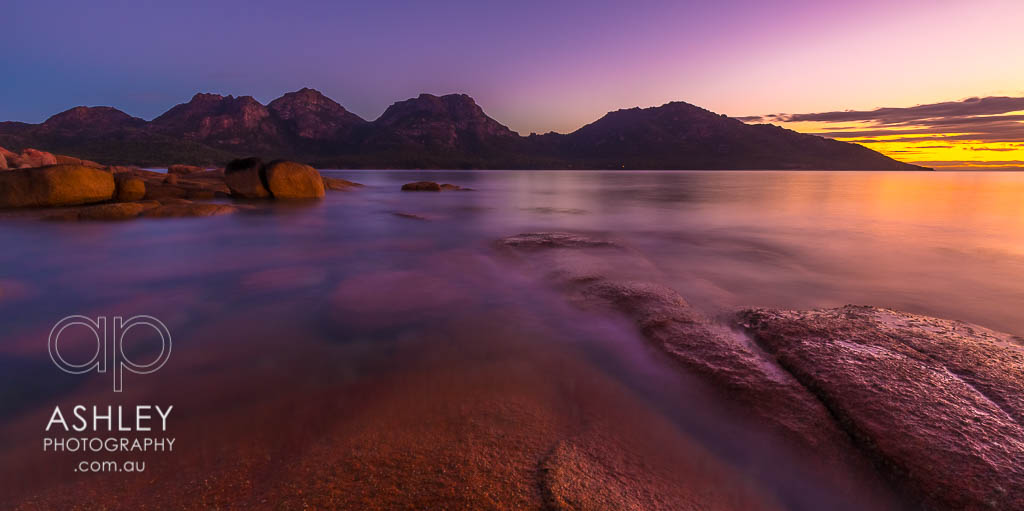
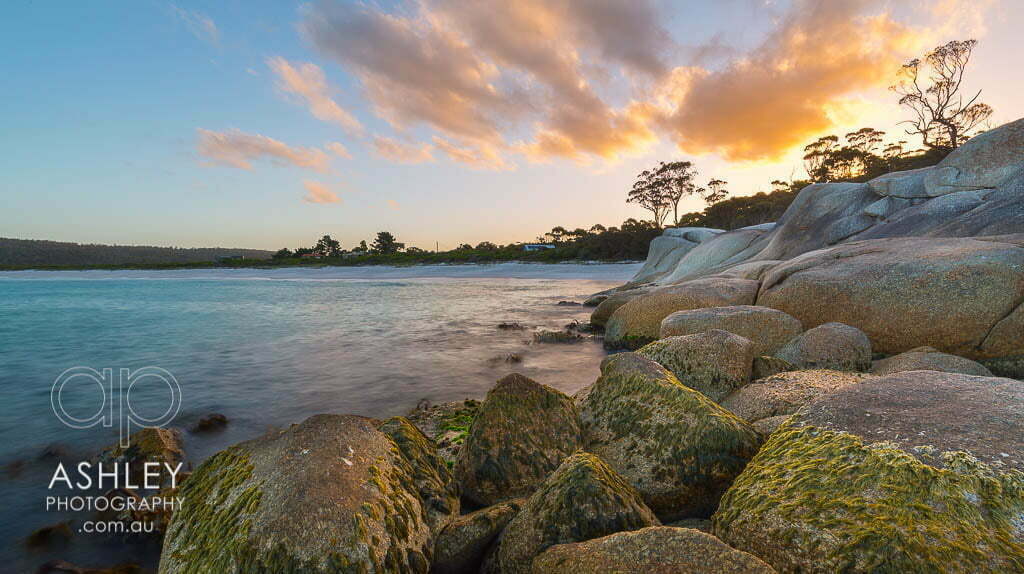
Title picture: The Hazards, Freycinet National Park
During holidays, or when out on field trips, I am always on the lookout for spots that show potential for slow shutter and sunset landscape photography.
It’s only at sunset (or sunrise) in the right conditions that colours become really intense, with stunning contrast between the deep overhead blues and warm orange and red tones on the horizon and base of clouds.
The low light also helps to slow the shutter down making moving water uncluttered, calm and ghostly, and more able to reflect the brilliance of the sky.
Finding worthy locations in North East Tasmania isn’t hard. Freycinet National Park in particular is so densely packed with great landscape photography sites that you’re unlikely to have time to explore them all.
And it’s not just Freycinet. The whole region is packed with stunning coastal, forest, river and waterfall scenery. But while finding locations is something I have a degree of control over, the weather isn’t. To get great colour in landscape photography, a number of things have to come together in the sky.
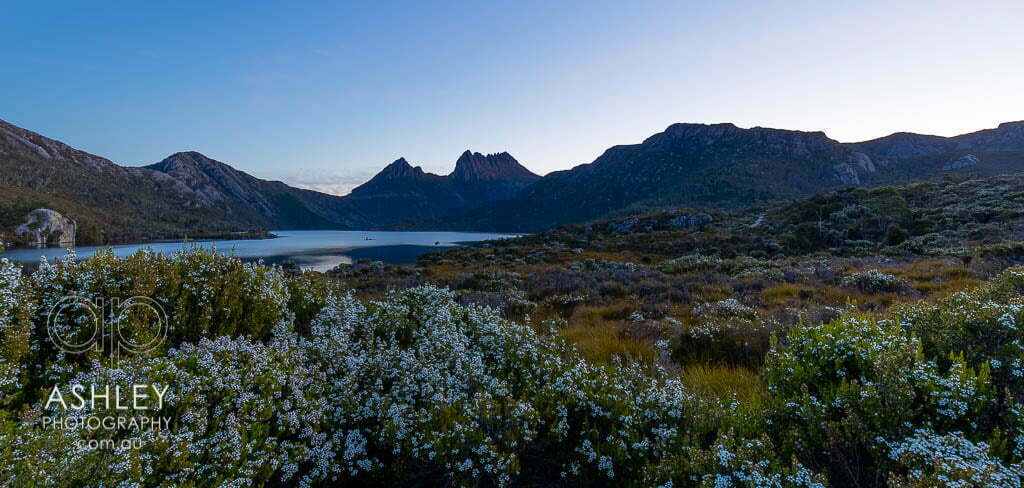
What I mostly look out for is a clear horizon. While clouds overhead can actually catch the rays of the setting sun and be rendered in deep yellows and reds, clouds on the horizon will shade the sky and leave it a monotone blue. What’s happening over the horizon counts as well, as clouds can be casting the same shade over the sky even though you can’t see them. To see what I mean, have a look at the two photos below of Coles Bay and Cradle Mountain, both of which are taken at the same time of day, and with a similar exposure.
Interestingly, that colour in the sky persists long after sunset, and can be revealed with very slow shutter speeds later in the evening. The shot of stars over Wineglass Bay below was taken at 11pm. That yellowish glow on the horizon couldn’t be seen with the naked eye. The shot was taken with a 120 second bulb exposure – enough time for the residual light to brighter the horizon.
Sometimes I find myself in a location that I can’t get back to at sunset. Bluestone Bay is at the end of a fairly rugged 4WD only track and takes a fair bit of time to get to. I knew I wouldn’t be coming back.
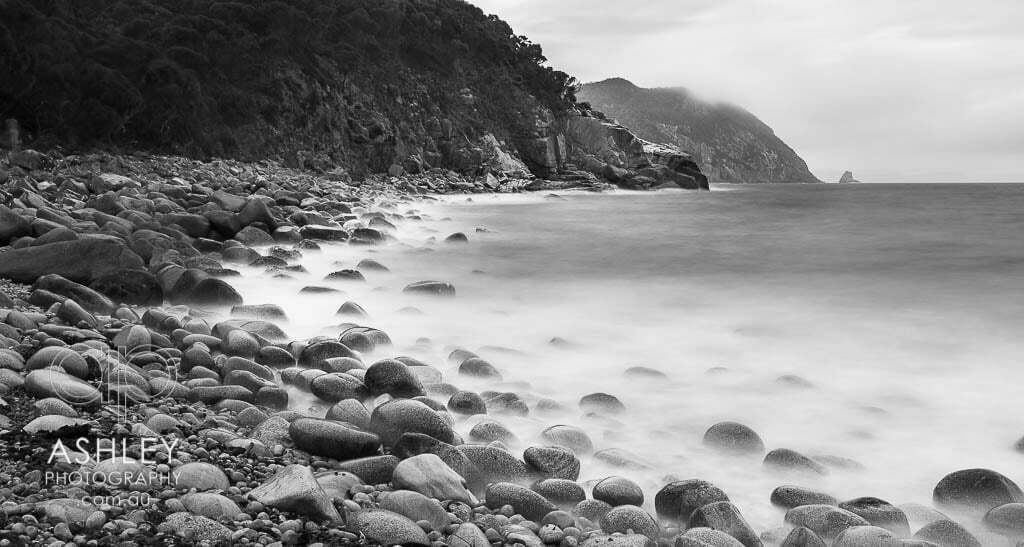
The weather on the day was overcast, and the sea was fairly rough compared to the more sheltered bays further west in Freycinet. I loved the wild isolation, and rugged polished rocks and was keen to take a shot. In this case I used a 10 stop ND filter to achieve the slow 30 second shutter I needed to add atmosphere to the water.
I knew colour wasn’t going to be a big feature of this shot. The rocks themselves were fairly colourful, but the middle of the day overcast sky left everything looking dull. Luckily these are the exact sorts of conditions that suite black and white photography in a wild location like this.
Black and white simplifies photography down to graphic shapes and textures. It would ruin a colourful sunset, but was perfect for this shot.
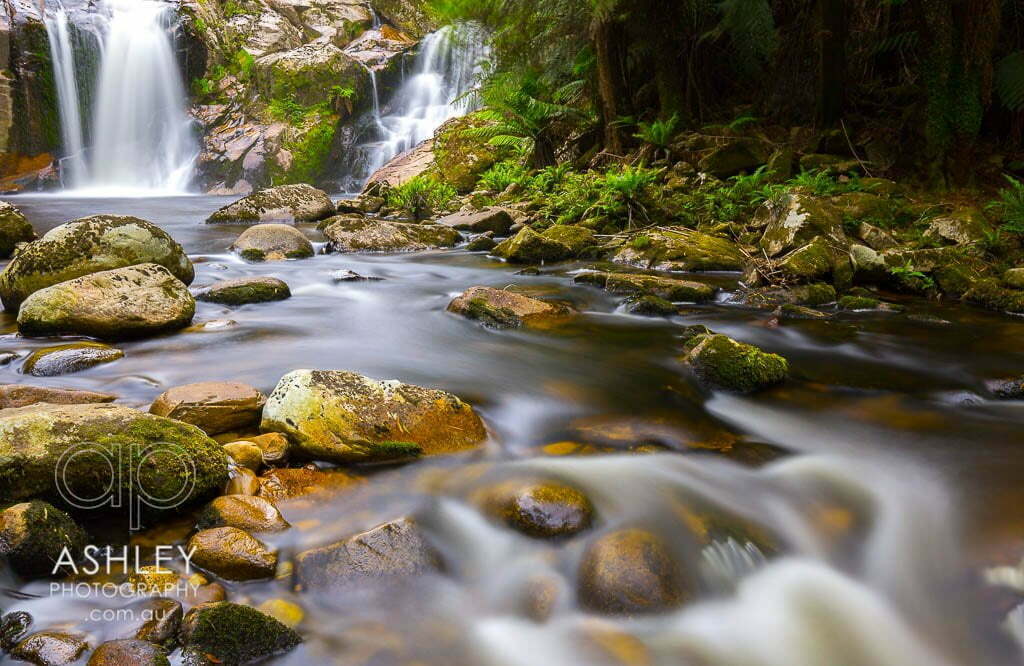
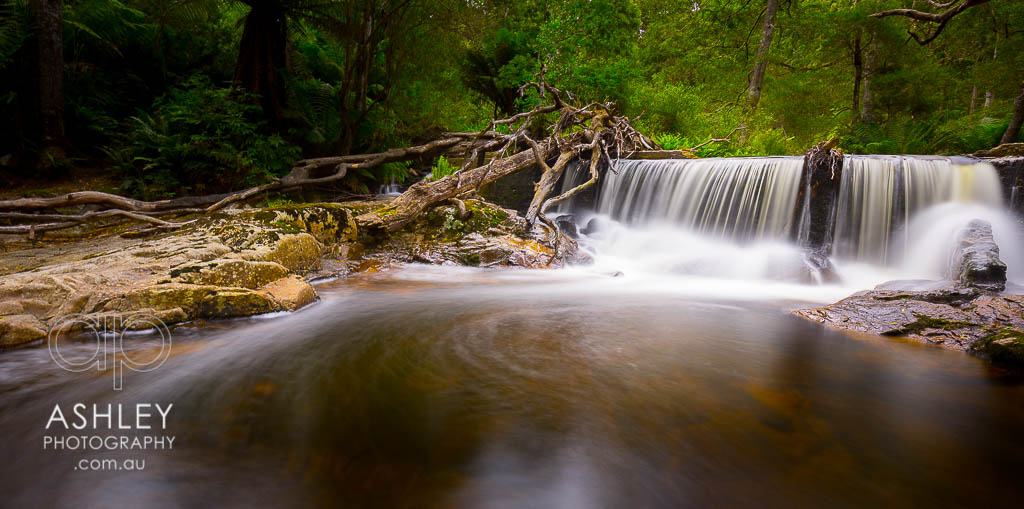
Waterfalls don’t tend to benefit from sunset. They are usually located in dense areas of bush, and often in a gorge where light low on the horizon can’t reach. The locations above would be in shade later in the day, and it would be hard to get an even exposure across the frame.
Sunny skies don’t help either. Direct sun passing through all those trees would great dappled light across the shot making it cluttered. Waterfalls tend to be busy enough as is, and the trick to making them look good is creating a calm space with clear area of focus.
Slow shutter speeds are essential for capturing the beauty of waterfalls. These were taken mid-afternoon, and despite being overcast it was still too bright to slow the shutter down enough to blur the water. I used a 3 stop ND filter combined with a slim polarising filter to reduce the exposure. Despite being slim, these filters when combined shroud the lens on my Canon 16-35mm f/4 a bit causing a dense vignette, so a touch of zoom helped to brighten the edges of the frame.
These waterfalls were at the end of a 20 minute track. I knew I was going to want a slow shutter photo, so made sure I had filters and a tripod with me. Unfortunately I forgot to include the quick release for my tripod, so had no way to mount my camera on it. Luckily I’d read on another blog that I could bundle up my jumper and use it as a bean bag to support my camera!
I thought the Bay of Fires was so called because of the colour of the landscape. It actually comes from the many aboriginal campfires seen along the coast by Captain Tobias Furneaux sailing in the Adventure in 1773.
I was hoping to get some stunning landscape photos on this trip, so was a little disappointed to learn about this. I wasn’t disappointed for long though.
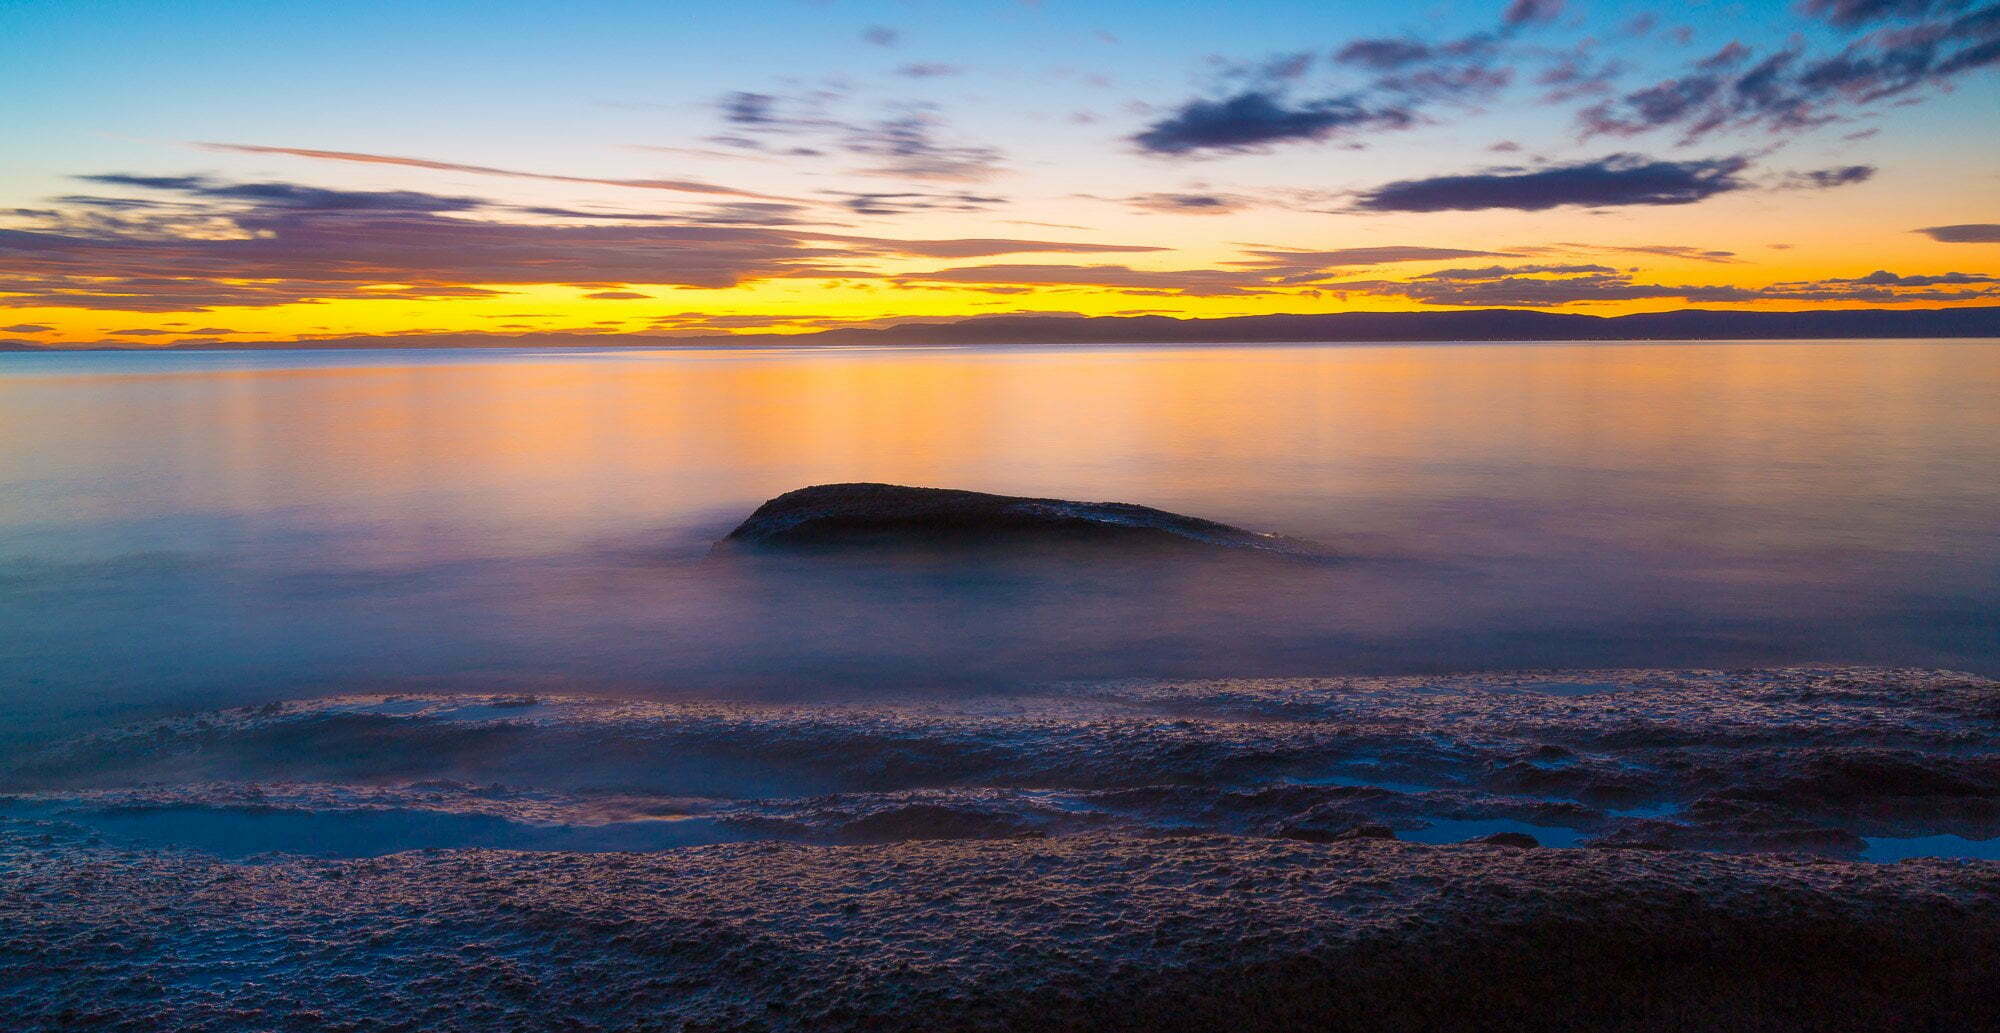
The shot below was taken at the tidal river on Binalong Bay beach were the sea rushes in and out to fill an inland lake. The water moves through pretty fast, and on this evening the sky was aflame with a yellow glow. By pointing the camera down to to catch the sky’s reflection, I was able to create my own bay of fires.
This was my 3rd trip to Tasmania in the last few years. In the next few weeks I’ll be posting shots from the north, south and King Island, with each location suited to a different style of photography. While the east coast is relatively calm and colourful, the other locations are more wild and exposed. Slow shutters were less effective for these landscapes, and black and white photography was able to bring out more atmosphere in each location.
To receive the posts, make sure to like my Facebook page, subscribe to this blog in the sidebar at the top of this page on the right (or below on mobile devices), or just check back regularly.
